
Hi, Appian Developers! I hope you all are doing well and safe. Today we are going to learn to insert multiple records for customer in a database table named tbl_customer using an editable grid in Appian. I would clear in the starting, you must be certified with Appian Associate Developer, so it will be easy for you all. First I will tell you the whole requirements and what we are going to implement here.
Requirement:
Let’s consider, that we
have a tbl_customer in the Appian cloud database. And this table has the following
fields as
· customerID
· customerName
· emailID
· phoneNumber
· profilePicture
· description
· createdBy
· createdDate
· isActive
You can see the below screenshot for how does your table looks like.

Now, we want to
insert multiple customer details in one go instead of adding them one by one.
It means we will add the multiple customer data from an interface using an
editable grid in Appian.
e.g., Customer1,
Customer2, Customer3, and Customer4 will have their own CustomerID,
CustomerName, emailID, and so on. By implementing this, we are not required to
add the n number of customer details one by one. So, without wasting our time,
let’s switch to Appian Designer Console. As I am using the free community edition
of Appian, I have my own Appian Designer console. You can also request your
instance by clicking on this link https://community.appian.com/
I am creating a new application named “Practice for Appian” as below screenshot.

As I have checked the box in yellow highlighted in the above screenshot.

It will create some default folders and groups for me. This feature is available in only Appian version 21.4 release or later. Now click on the save button and you will see your application is created with default objects with folders and groups as below.

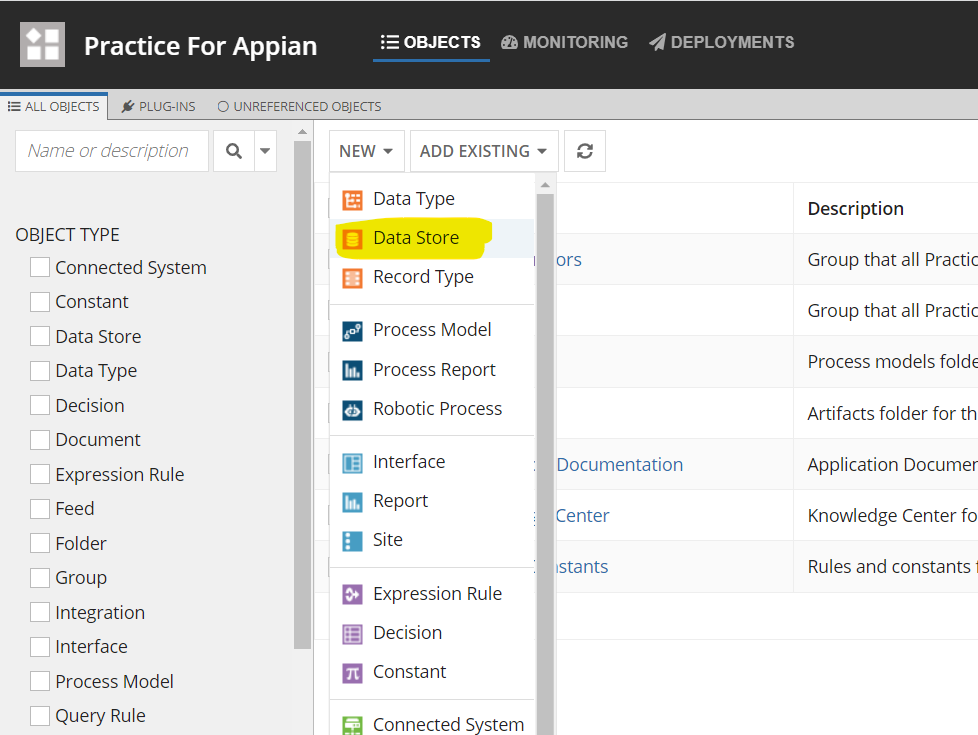
You must enter your datastore name and description as below.


We will create our CDT using "Create from a database table or view" and select your Data Source name and table as below.

Now you must enter your CDT name and select your Data Store which we have created as above. Please see the below screenshot for your reference.


Please enter your Interface name below.


Wow, Congratulations!!! Our interface is ready to insert the multiple customer data into our database table tbl_Customer.


Note:

No comments:
Post a Comment